copy from : http://www.teachtutorials.com/
The photo before and after editing (click to enlarge the pictures):


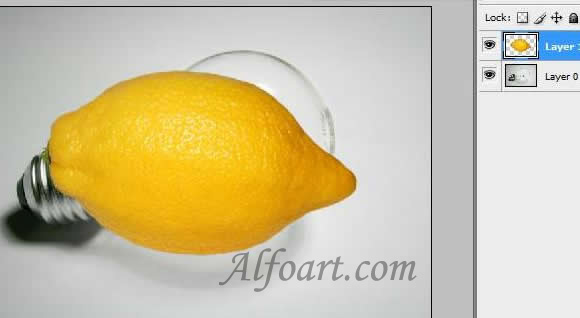
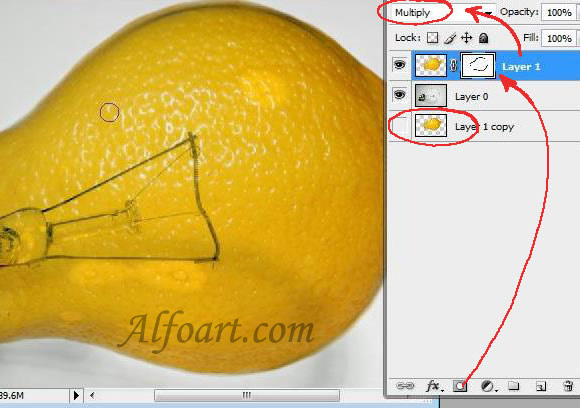
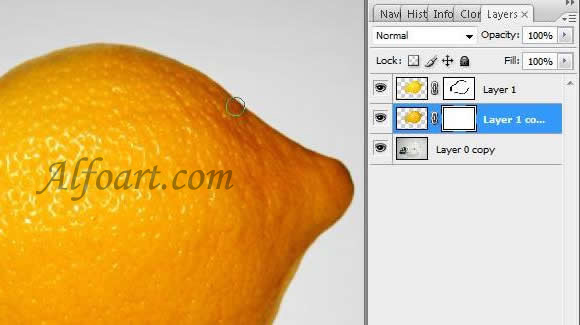
- Copy layer of lemon.
- Blending Mode for a Layer of lemon is Multiply.
- Add Vector Mask. Click the vector mask thumbnail in the Layers palette or the thumbnail in the Paths palette.
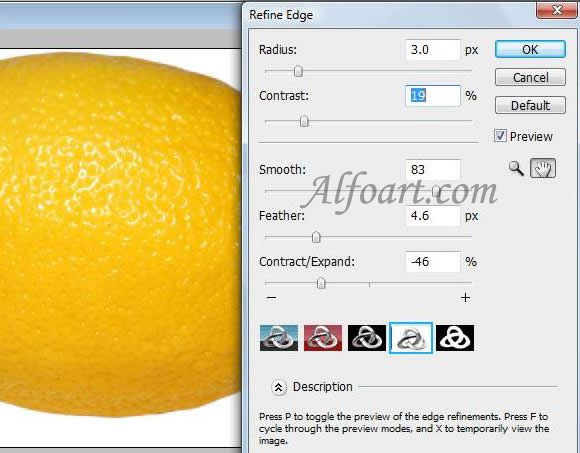
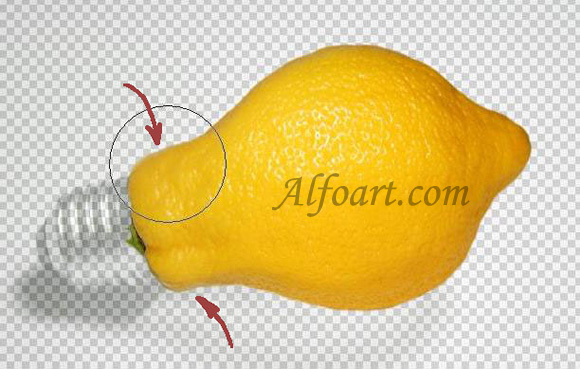
- Correct edges of lemon using soft, round brush.
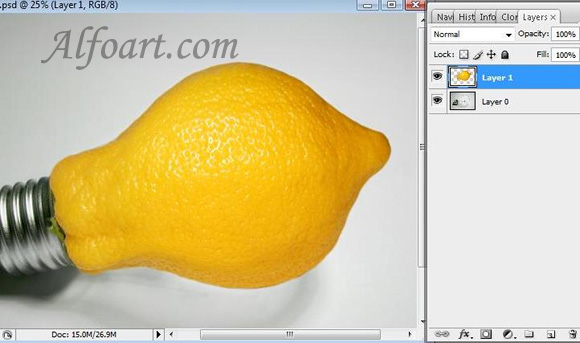
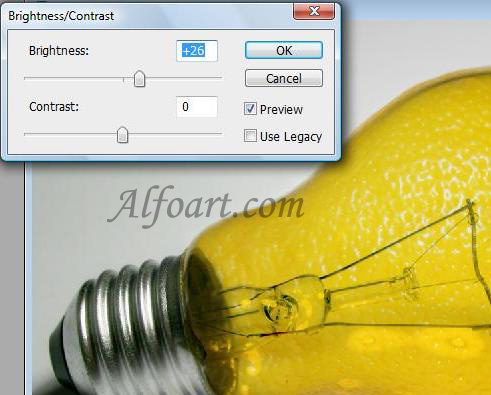
- Choose Image > Adjustments > Brightness/Contrast.
- Place copy of layer with lemon under original layer.
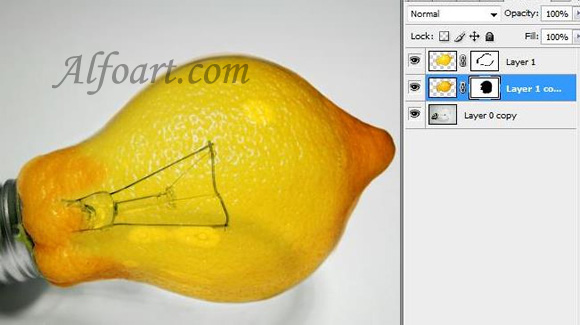
- Add Vector mask again.
- Erase some parts using soft round brush in Vector Mask.
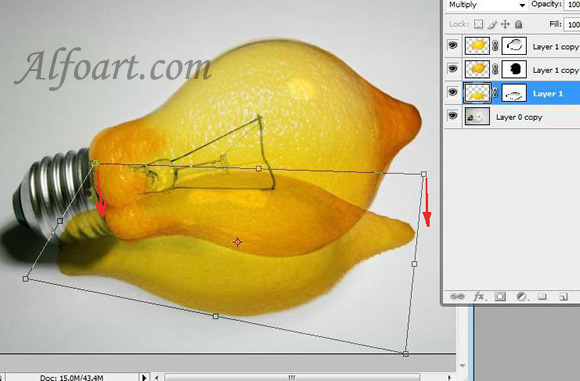
- Copy multiply layer and place it above bulb layer.
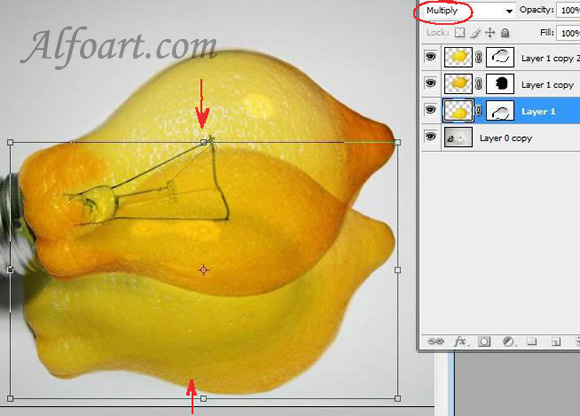
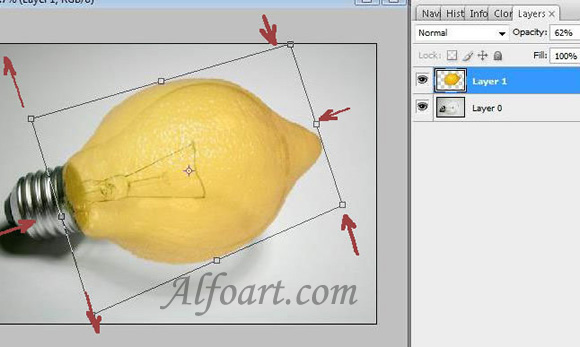
- Transform it using Free Transformation and Distort.
- Erase redundant areas using soft Eraser Tool.
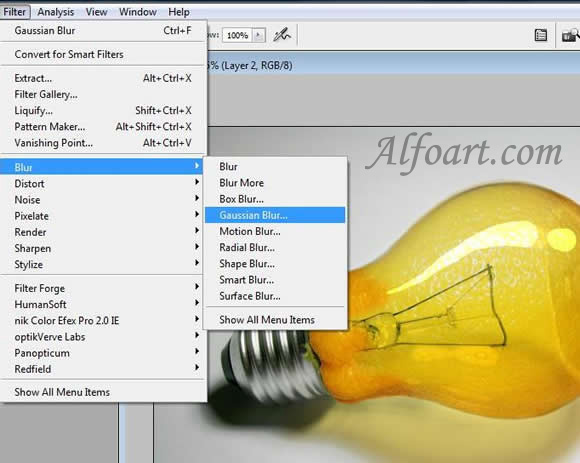
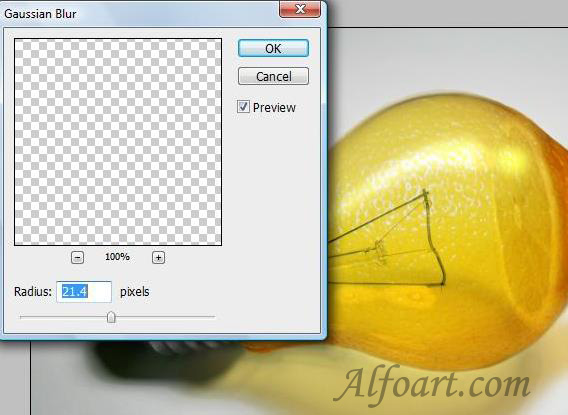
- Choose Filter > Blur > Gaussian Blur.
- Opacity is 30-40%.
- Create a new layer.
- Paste image of segment of lemon.
- Transform it.
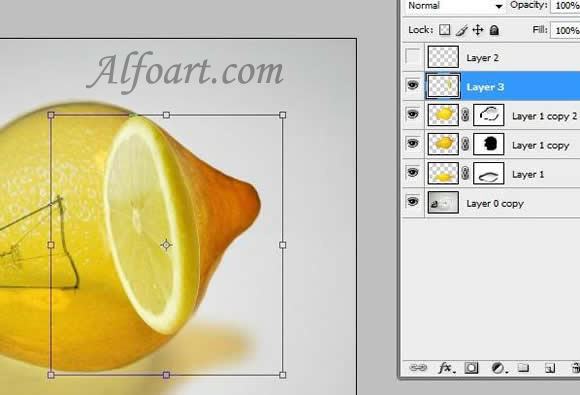
- Place layer of segment above bulb layer.
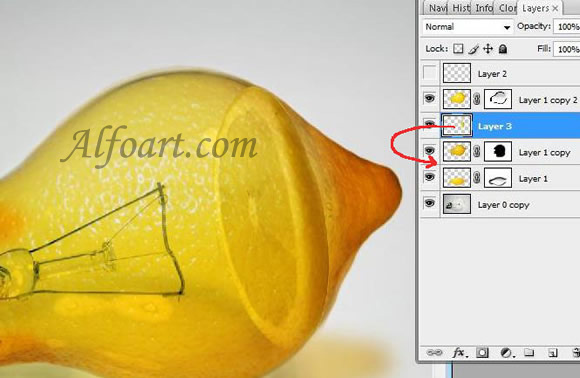
- Soften the distant plan of segment using soft Eraser Tool.
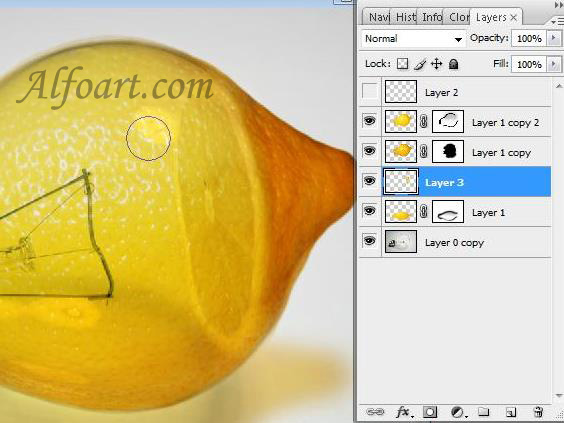
- Create a new layer (Blending Mode is Overlay).
- Draw white spots.
- Choose Filter >Blur > Gaussian Blur (15 - 22).
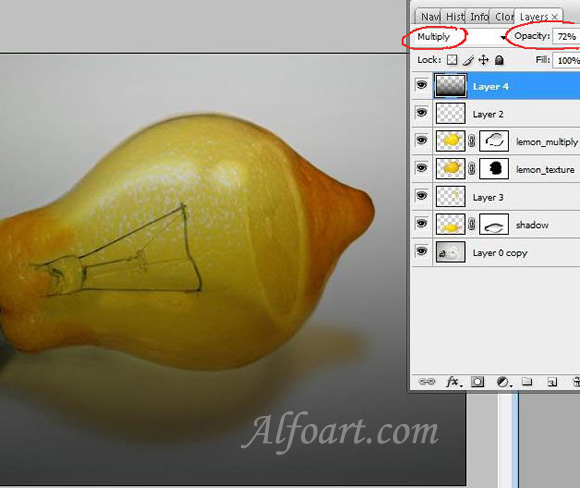
- Create a new layer.
- Set Blending Mode for layer Multiply, Opacity 72%.
- Fill layer with gradient (black/transparent)
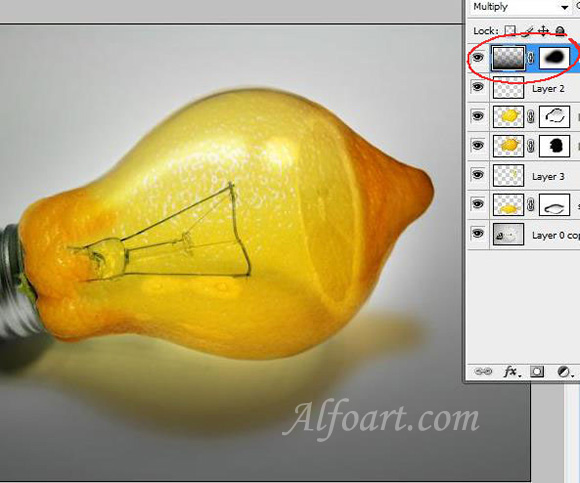
- Add Vector Mask.
- Erase part of gradient using soft round brush.
And here is the result! Click for larger view.
没有评论:
发表评论